Drawing in Photoshop
|
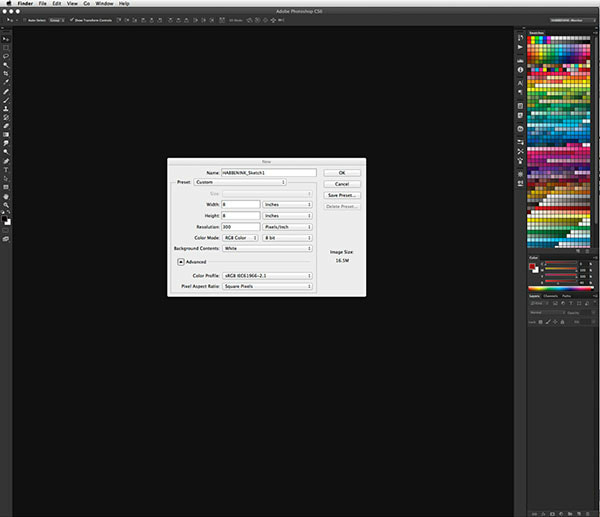
Step 1: Start with a clean canvas.
Open a new file in Photoshop, choosing the options that are right for you. I set my image size to 8 x 8 inches and the resolution at 300 pixels/inch or “dpi”. A resolution of at least 300 will ensure that we can print a nice clear copy of our sketch when we’re done. After you’ve made your selections, click OK and a blank canvas will appear. |
|
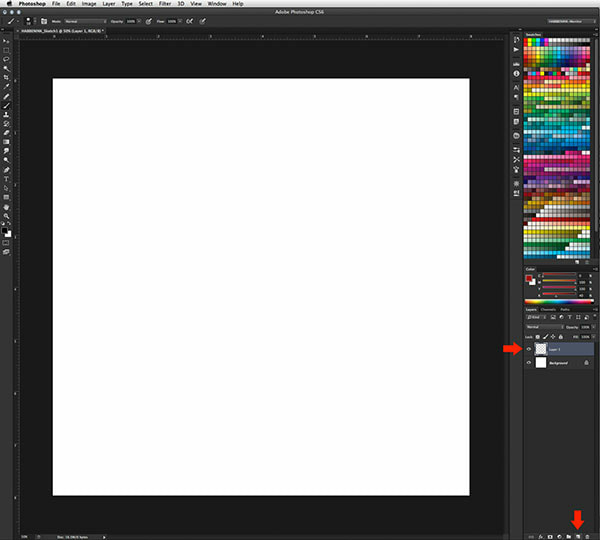
Step 2: Layer it on.
On the right side of the Photoshop window, below the color palette, is the layers palette. Because the file has just been created, there is only one layer: the solid white “Background.” Click the icon at the bottom of the Layers palette that looks like a square with a folded corner to create Layer 1. Think of this new layer as a piece of clear glass on which we’ll be sketching. |
|
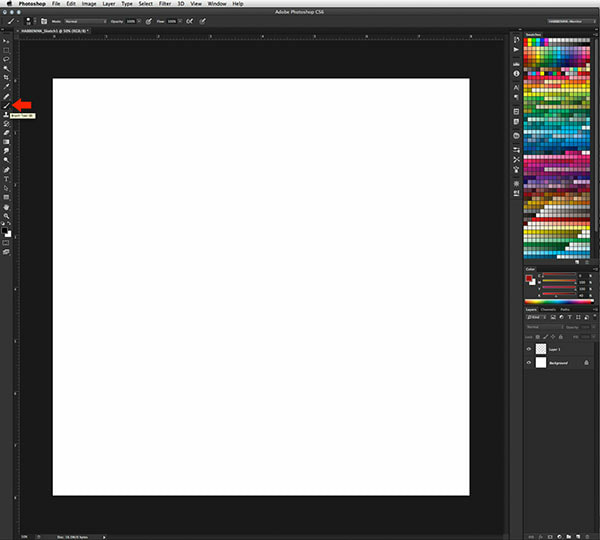
Step 3: Brush up on brushes.
Click on the icon that looks like a small paintbrush to select the Brush tool. Choose a size that’s similar to your favourite drawing tool by going to the Options bar. |
|
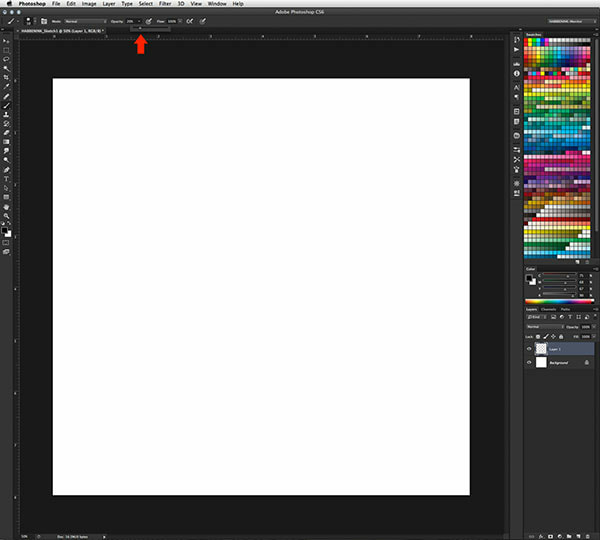
Next, choose the brush’s hardness, which determines whether the edge of the brush is hard or soft, by clicking on the small down arrow next to the brush size. Now set the opacity, how opaque or translucent your lines will be. If you want to replicate pressing hard on a pencil, raise the opacity. If you want to mimic drawing lightly with a pencil, set it in the 20% range. Just like a pencil, you’ll be able to build up the line over itself and darken areas as you go.
|
|
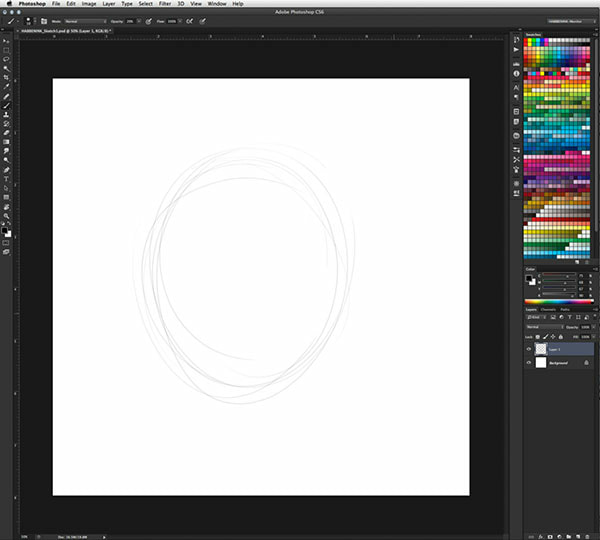
Step 4: Make your mark.
Start sketching! Just as you would with traditional media, keep your grip light on the Wacom stylus during sketching. (Pressing down with different levels of pressure on the tablet will adjust your brush size, but not the opacity of the brush.) Keep initial lines loose, exploring the shape. It may be tempting to look at the tablet as you draw, but with practice you’ll be able focus your attention on the screen. |
|
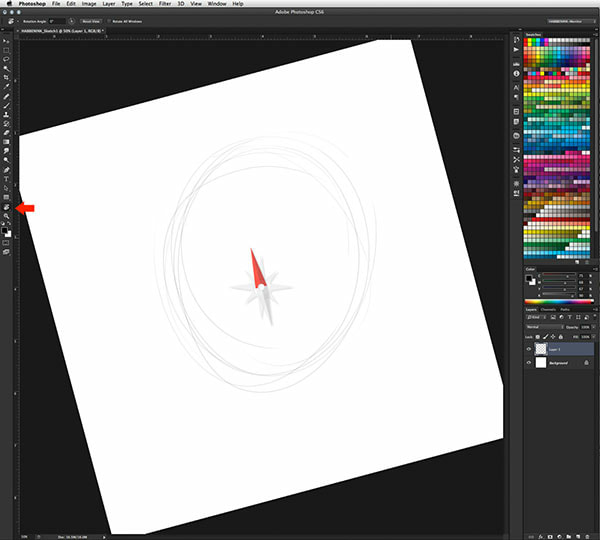
Step 5: Take charge of the screen.
Press “R” to turn on the Rotate tool then click and drag the hand image to rotate to the desired angle. Click on the magnifying glass icon at the bottom of the toolbar to zoom in and hone those finer details. |
